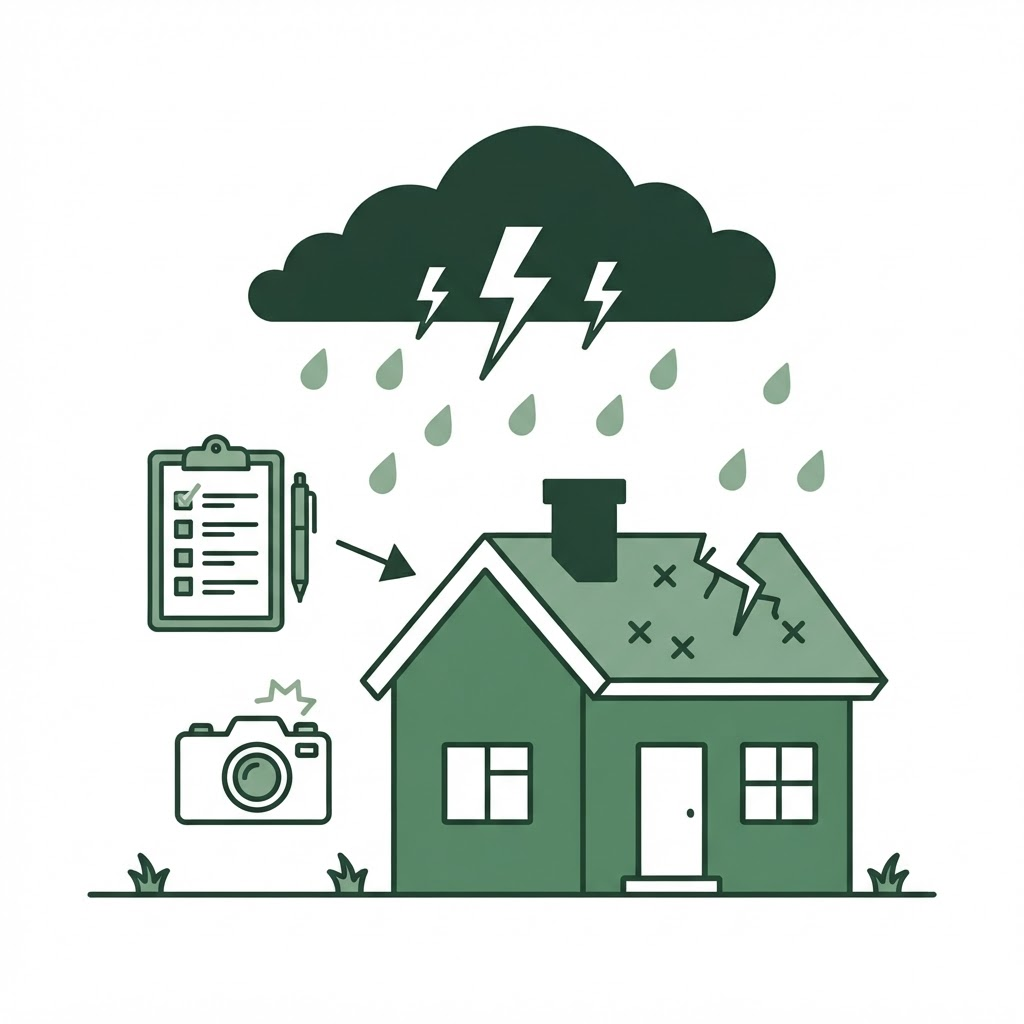
The strongest supplement usually starts before the insurance claim is filed. Once a storm passes, the photos you take, the measurements you record, and the details you preserve become the foundation for the adjuster's scope and any supplemental work that follows.
Good documentation does more than prove that a roof is damaged. It connects the storm event to specific conditions, shows the full extent of the loss, and gives the adjuster enough information to make a decision without guessing. Here's the process residential roofing contractors can use to document storm damage the right way.
Start With the Property and the Storm
Before getting close to the roof, document the property as a whole. Take photos showing the street address, the front elevation, the roof lines, nearby trees, and any visible storm conditions. If the area experienced hail, high winds, or tornado activity, record the date of the storm and preserve any available weather information for the property location.
Wide establishing photos help connect the damage to the correct property and show the overall context. They also make your closer damage photos easier for an adjuster to understand later.
Photograph Every Roof Plane
Walk the entire roof and photograph each plane, not just the areas with the most obvious damage. Include full-plane photos that show orientation and coverage, then take closer photos of individual damaged components. A photo of one cracked shingle is useful. A photo showing where that shingle sits on the roof is better.
Keep your photos organized by elevation and roof plane. Use a consistent sequence, such as front slope, right slope, rear slope, and left slope. This makes it easier to match photos to line items and prevents important areas from being overlooked.
Worth Noting
A close-up without context can be challenged as isolated or unrelated. Pair every important damage photo with a wider image that shows its location on the roof.
Show Damage With a Reference Point
For hail damage, include a common object or measuring reference when it helps show scale. For wind damage, photograph lifted, creased, missing, or displaced materials from multiple angles. For impact damage to vents, flashing, gutters, or siding, capture both the damaged component and its relationship to the roof system.
Avoid relying on blurry zoomed-in photos or images where the damage is hidden by glare and shadow. Retake anything that is hard to interpret on a phone screen. The goal is to make the condition clear to someone who wasn't at the property.
Measure Before You Estimate
Record the roof dimensions, pitch, stories, waste factors, valleys, hips, ridges, eaves, rakes, penetrations, and other features that affect the scope. Note the number and size of roof planes, as well as accessories that may need removal and replacement during the repair.
Measurements should be consistent with your photos and estimate. If a roof report or measurement service is available, compare it with your field notes before submitting. Small discrepancies can create unnecessary questions about the entire scope.
Document Code and Material Conditions
Look for conditions that affect how the work must be performed, including multiple layers, steep access, special underlayment, ventilation requirements, flashing details, and code-required upgrades. Photograph the condition that triggers the requirement and record the applicable local code or permit information.
Also document the existing materials. Note the shingle type, profile, color, manufacturer if known, metal types, ventilation components, and any discontinued or specialty products. If matching materials are unavailable, gather supplier information or written confirmation instead of waiting until the adjuster asks for it.
Record What You Found in the Field
Photos are essential, but they are not the whole file. Write down the date of inspection, weather conditions, who was present, areas inspected, visible damage, pre-existing conditions, and any limitations that prevented access. If a roof area was unsafe to walk, say so and explain how you inspected it from a safe position.
These notes preserve details that may not be obvious in the photos. They also give your supplement a clear timeline and show that the scope came from a documented inspection rather than assumptions.
Build the File Before Filing
Before submitting the claim or supplement, organize the documentation into a simple package. Use clear file names, group photos by elevation or roof plane, and place measurements, weather records, code references, and supplier documentation where they can be found quickly.
Review the package as if you were the adjuster seeing the property for the first time. Can you identify the address, understand the storm event, locate every damaged area, verify the measurements, and see why each requested line item is necessary? If not, fill the gap before filing.
The Bottom Line
Documentation is not an administrative step that happens after the real work. It is what turns observed damage into a scope an adjuster can evaluate. Complete photos, accurate measurements, code support, material details, and field notes give your supplement a much stronger foundation.
Document the whole property, organize the evidence by roof area, and connect every requested item to something you observed and recorded. When the file tells a clear story before the adjuster ever opens the estimate, you're giving the claim its best chance to move forward without unnecessary back and forth.